
Python 爬取天气数据
精选原创
lanxiaofang博主文章分类:Python ©著作权
文章标签 数据 json python 文章分类 Python 后端开发 指尖人生
©著作权归作者所有:来自51CTO博客作者lanxiaofang的原创作品,请联系作者获取转载授权,否则将追究法律责任
一、[知识点]:
动态数据抓包
requests发送请求
结构化+非结构化数据解析
二、[开发环境]:
python 3.8 运行代码
pycharm 2021.2 辅助敲代码
requests 第三方模块 pip install 模块名
四、配置pycharm里面的python解释器
- 选择file(文件) >>> setting(设置) >>> Project(项目) >>> python interpreter(python解释器)
2. 点击齿轮, 选择add3. 添加python安装路径
五、pycharm如何安装插件
- 选择file(文件) >>> setting(设置) >>> Plugins(插件)
- 点击 Marketplace 输入想要安装的插件名字 比如:翻译插件 输入 translation / 汉化插件 输入 Chinese
- 选择相应的插件点击 install(安装) 即可
- 安装成功之后 是会弹出 重启pycharm的选项 点击确定, 重启即可生效
©著作权归作者所有:来自51CTO博客作者lanxiaofang的原创作品,请联系作者获取转载授权,否则将追究法律责任 Python 爬虫 爬取A站视频 https://blog.51cto.com/lanxf/5583564
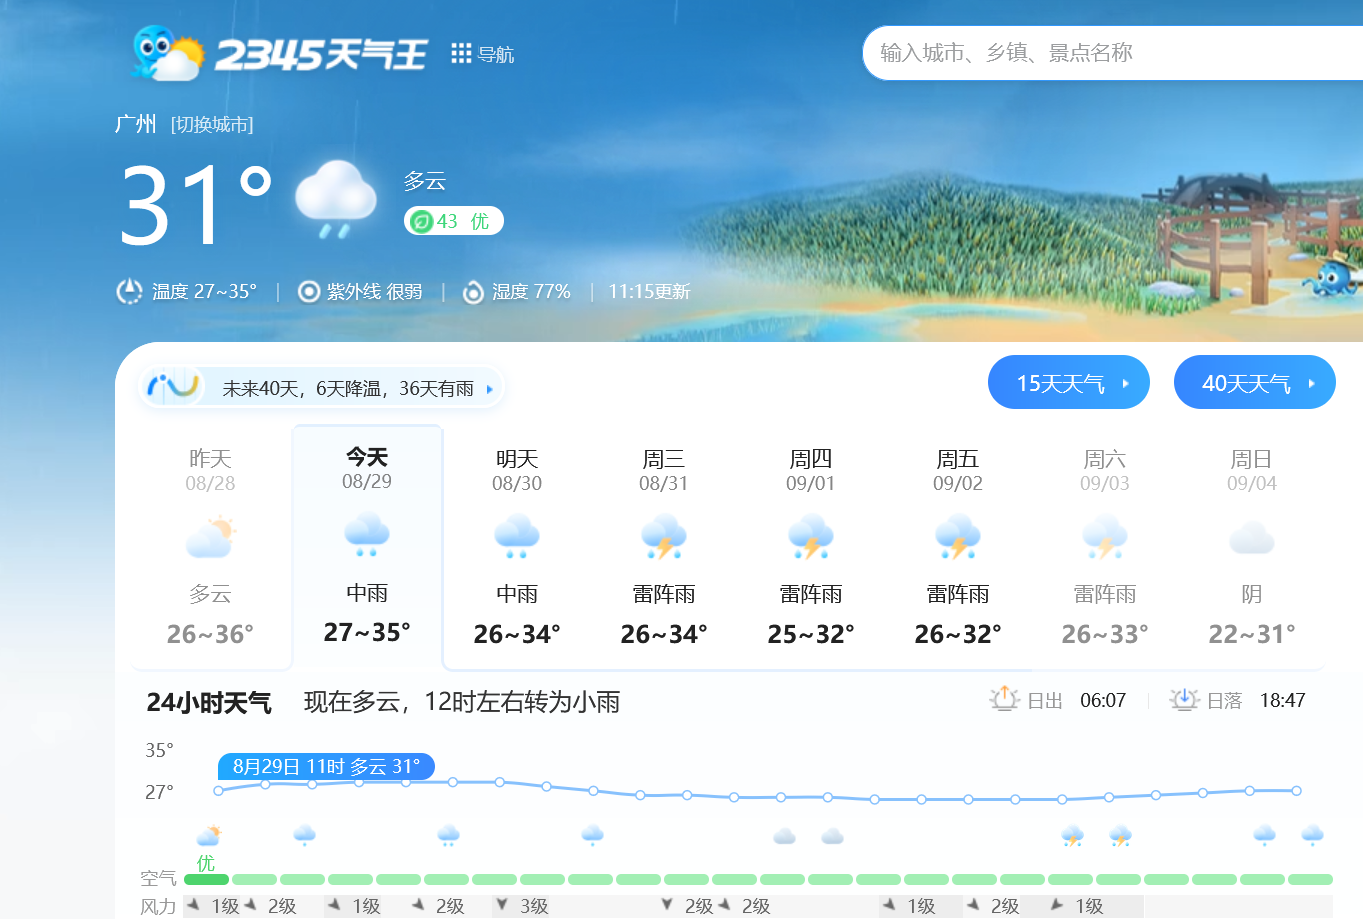
三、分析数据来源
四、代码实现
-
发送请求
-
获取数据
-
解析数据
-
保存数据
import requests # 发送请求 第三方模块import parsel # 解析网页源代码的 第三方模块import csvwith open('天气数据.csv', encoding='utf-8', mode='a', newline='') as f: csv_writer = csv.writer(f) csv_writer.writerow(['日期', '最高温度', '最低温度', '天气', '风向', '城市'])city_list = [54511, 58362, 59287, 59493]for city in city_list: for year in range(2013, 2022): for month in range(1, 13): url = f'https://tianqi.2345.com/Pc/GetHistory?areaInfo%5BareaId%5D=54511&areaInfo%5BareaType%5D=2&date%5Byear%5D={year}&date%5Bmonth%5D={month}' # 1. 发送请求 response = requests.get(url) # # 2. 获取数据 .json(): 字典类型的数据 键值对方式取值 json_data = response.json() # 3. 解析数据 # 字典取值 json(): {"":"", "":""} html_data = json_data['data'] # 结构化数据 字典键值对取值 # 非结构化数据 网页源代码 css/xpath/re select = parsel.Selector(html_data) trs = select.css('table tr') # 32个tr 每个tr都有六个td # [1, 2, 3, 4, 5] [1] for tr in trs[1:]: # 取标签里面的文本内容 # ::text tds = tr.css('td::text').getall() print(tds) if city == 54511: tds.append('北京') elif city == 58362: tds.append('上海') elif city == 59287: tds.append('广州') elif city == 59493: tds.append('深圳') # 4. 保存数据 with open('天气数据.csv', encoding='utf-8', mode='a', newline='') as f: csv_writer = csv.writer(f) csv_writer.writerow(tds)
- 赞
- 收藏
- 评论
- *举报
上一篇:京东销售码洋与广告投入及销量预测【数据集+完整代码】
下一篇:咖啡价格分析
Original: https://blog.51cto.com/lanxf/5629262
Author: lanxiaofang
Title: Python 爬取天气数据
相关阅读1
Title: Django中六个常用的自定义装饰器
装饰器作用
decorator是当今最流行的设计模式之一,很多使用它的人并不知道它是一种设计模式。这种模式有什么特别之处? 有兴趣可以看看Python Wiki上例子,使用它可以很方便地修改对象行为,通过使用类似例中的接口将修改动作封装在装饰对象中。
decorator 可以动态地修改函数、方法或类的功能,而无需创建子类或修改类的源代码。正因为如此,装饰器可以让代码将变得 更干净、 更可读、 更可维护(这很重要!),并且减少了许多冗余但又不得不写的代码,使我们可以使用单个方法向多个类添加功能。
对于装饰器的重用性和易用性,Django里面的@login_required就是一个很好的例子。使用它只用一句代码就可以检查用户是否通过身份验证,并将未登录用户重定向到登录url。
该装饰器的使用方法如下:
from django.contrib.auth.decorators import login_required

@login_required(login_url='/accounts/login/')
def my_view(request):
    ...
每次用户试图访问 my_view 时,都会进入 login_required 中的代码。
Django装饰器
下面介绍一些个人认为比较有用的,或者是之前使用过的具有积极效果的装饰器。事先声明,如要实现同样的业务场景,并不是只有本文中的方法。Django可以实现各种各样的装饰器,这完全根据您的需要进行定制。
有时需要保护一些视图,只允许某些用户组访问。这时就可以使用下面的装饰器来检查用户是否属于该用户组。
from django.contrib.auth.decorators import user_passes_test

def group_required(*group_names):
   """Requires user membership in at least one of the groups passed in."""

   def in_groups(u):
       if u.is_authenticated():
           if bool(u.groups.filter(name__in=group_names)) | u.is_superuser:
               return True
       return False
   return user_passes_test(in_groups)

# The way to use this decorator is:
@group_required('admins', 'seller')
def my_view(request, pk):
    ...
这个装饰器是参考Django自带的 login_required 装饰器,但是功能是相反的情况,即用户必须是未登录的,否则用户将被重定向到 settings.py 中定义的地址。当我们想要已登录的用户不允许进入某些视图(比如登录)时,非常有用。
def anonymous_required(function=None, redirect_url=None):

   if not redirect_url:
       redirect_url = settings.LOGIN_REDIRECT_URL

   actual_decorator = user_passes_test(
       lambda u: u.is_anonymous(),
       login_url=redirect_url
   )

   if function:
       return actual_decorator(function)
   return actual_decorator

# The way to use this decorator is:
@anonymous_required
def my_view(request, pk):
    ...
这个装饰器和上面的 group_required 类似, 但是它只允许超级用户才能访问视图。
from django.core.exceptions import PermissionDenied

def superuser_only(function):
    """Limit view to superusers only."""

    def _inner(request, *args, **kwargs):
        if not request.user.is_superuser:
            raise PermissionDenied
        return function(request, *args, **kwargs)

    return _inner

# The way to use this decorator is:
@superuser_only
def my_view(request):
    ...
这个装饰器用于检查请求是否是AJAX请求,在使用jQuery等Javascript框架时,这是一个非常有用的装饰器,也是一种保护应用程序的好方法。
from django.http import HttpResponseBadRequest

def ajax_required(f):
"""
    AJAX request required decorator
    use it in your views:

    @ajax_required
    def my_view(request):
        ....

"""

    def wrap(request, *args, **kwargs):
        if not request.is_ajax():
            return HttpResponseBadRequest()
        return f(request, *args, **kwargs)

    wrap.__doc__ = f.__doc__
    wrap.__name__ = f.__name__
    return wrap

# The way to use this decorator is:
@ajax_required
def my_view(request):
    ...
如果您需要改进某个视图的响应时间,或者只想知道运行需要多长时间,那么这个装饰器非常有用。
def timeit(method):

   def timed(*args, **kw):
       ts = time.time()
       result = method(*args, **kw)
       te = time.time()
       print('%r (%r, %r) %2.2f sec' % (method.__name__, args, kw, te - ts))
       return result

   return timed

# The way to use this decorator is:
@timeit
def my_view(request):
    ...
下面这个装饰器只是一个示例,测试你能够轻松地检查某些权限或某些判断条件,并100%自己定制。
想象你有一个博客、购物论坛,如果用户需要有很多积分才能发表评论,这是一个避免垃圾信息的好方法。下面创建一个装饰器来检查用户是否已登录并拥有超过10个积分,这样才可以发表评论,否则将抛出一个Forbidden。
from django.http import HttpResponseForbidden

logger = logging.getLogger(__name__)

def user_can_write_a_review(func):
   """View decorator that checks a user is allowed to write a review, in negative case the decorator return Forbidden"""

   @functools.wraps(func)
   def wrapper(request, *args, **kwargs):
       if request.user.is_authenticated() and request.user.points < 10:
           logger.warning('The {} user has tried to write a review, but does not have enough points to do so'.format( request.user.pk))
           return HttpResponseForbidden()

       return func(request, *args, **kwargs)

   return wrapper
Original: https://www.cnblogs.com/jhao/p/9258892.html
Author: j_hao104
Title: Django中六个常用的自定义装饰器
相关阅读2
Title: pip常见命令
[root@localhost ~]# pip3 --help

Usage:
  pip3  [options]

Commands:
  install                     Install packages.

  download                    Download packages.

  uninstall                   Uninstall packages.

  freeze                      Output installed packages in requirements format.

  list                        List installed packages.

  show                        Show information about installed packages.

  check                       Verify installed packages have compatible dependencies.

  config                      Manage local and global configuration.

  search                      Search PyPI for packages.

  wheel                       Build wheels from your requirements.

  hash                        Compute hashes of package archives.

  completion                  A helper command used for command completion.

  debug                       Show information useful for debugging.

  help                        Show help for commands.

General Options:
  -h, --help                  Show help.

  --isolated                  Run pip in an isolated mode, ignoring environment variables and user configuration.

  -v, --verbose               Give more output. Option is additive, and can be used up to 3 times.

  -V, --version               Show version and exit.

  -q, --quiet                 Give less output. Option is additive, and can be used up to 3 times (corresponding to WARNING, ERROR, and CRITICAL logging levels).

  --log                 Path to a verbose appending log.

  --proxy              Specify a proxy in the form [user:passwd@]proxy.server:port.

  --retries          Maximum number of retries each connection should attempt (default 5 times).

  --timeout              Set the socket timeout (default 15 seconds).

  --exists-action     Default action when a path already exists: (s)witch, (i)gnore, (w)ipe, (b)ackup, (a)bort.

  --trusted-host    Mark this host as trusted, even though it does not have valid or any HTTPS.

  --cert                Path to alternate CA bundle.

  --client-cert         Path to SSL client certificate, a single file containing the private key and the certificate in PEM format.

  --cache-dir            Store the cache data in .
  --no-cache-dir              Disable the cache.

  --disable-pip-version-check
                              Don't periodically check PyPI to determine whether a new version of pip is available for download. Implied with --no-index.

  --no-color                  Suppress colored output
- 安装指定包的最新版
pip3 install pkg_name - 安装制定包的指定版本
pip3 install pkg_name==version - 移除指定包
pip3 uninstall pkg_name -
在 PyPI 上模糊查找相关包
pip3 search pkg_name -
pip install/downloadinstall是联网安装,而download是本地离线下载
pip download pkg_name -d download_path
- 查看已经安装的包
pip3 list
[root@localhost ~] pip3 list
Package            Version

> Original: https://www.cnblogs.com/ivanlee717/p/16265856.html
> Author: ivanlee717
> Title: pip常见命令

## **相关阅读3**
##  Title: Python图片压缩处理

## 前言

不知道有没有人跟我有一样的烦恼,有时候图片太大了占内存很烦,本来手机内存也就那么点,放一个图片稍微大一点的,都不

能放一个成百上千张,这不是很烦嘛。于是,这又让我来灵感了,既然图片给了我难题,那么我就来接受这样的挑战。所以,我

决定用python来试试可不可以压缩图片,不是不知道,一试就成功了,那么好的东西怎么能一个人独享呢,当然要分享出来给大

家呀~~~
python学习交流Q群:906715085###
dynamic_quality.py
import PIL.Image
from math import log
from SSIM_PIL import compare_ssim
pip install SSIM-PIL
from PIL import ImageFile
ImageFile.LOAD_TRUNCATED_IMAGES = True
def get_ssim_at_quality(photo, quality):
"""
Return the ssim for this JPEG image saved at the specified quality
"""
ssim_photo = "tmp.jpg"
optimize is omitted here as it doesn't affect
quality but requires additional memory and cpu
photo.save(ssim_photo, format="JPEG", quality=quality, progressive=True)
ssim_score = compare_ssim(photo, PIL.Image.open(ssim_photo))
return ssim_score
def _ssim_iteration_count(lo, hi):
"""
Return the depth of the binary search tree for this range
"""
if lo >= hi:
return 0
else:
return int(log(hi - lo, 2)) + 1
def jpeg_dynamic_quality(original_photo):
"""
Return an integer representing the quality that this JPEG image should be
saved at to attain the quality threshold specified for this photo class.
Args:
original_photo - a prepared PIL JPEG image (only JPEG is supported)
"""
ssim_goal = 0.9 #the original value is 0.95
hi = 35 #the original value is 85
lo = 30 #the original value is 80
working on a smaller size image doesn't give worse results but is faster
changing this value requires updating the calculated thresholds
photo = original_photo.resize((200, 200))
if not _should_use_dynamic_quality():
default_ssim = get_ssim_at_quality(photo, hi)
return hi, default_ssim
95 is the highest useful value for JPEG. Higher values cause different behavior
Used to establish the image's intrinsic ssim without encoder artifacts normalized_ssim = get_ssim_at_quality(photo, 10)
selected_quality = selected_ssim = None
loop bisection. ssim function increases monotonically so this will converge for i in range(_ssim_iteration_count(lo, hi)):
curr_quality = (lo + hi) // 2
curr_ssim = get_ssim_at_quality(photo, curr_quality)
ssim_ratio = curr_ssim / normalized_ssim
if ssim_ratio >= ssim_goal:
continue to check whether a lower quality level also exceeds the goal selected_quality = curr_quality
selected_ssim = curr_ssim
hi = curr_quality
else:
lo = curr_quality
if selected_quality:
return selected_quality, selected_ssim
else:
default_ssim = get_ssim_at_quality(photo, hi)
return hi, default_ssim
## test.py
from PIL
import Image
from dynamic_quality import *
def compress(filename,originpath,targetpath):
name = filename.rstrip('.png').rstrip('.jpg')
im = Image.open(originpath+filename)
print(im.format,im.size,im.mode)
im = im.convert('RGB')
im.format = "JPEG"
new_photo = im.copy()
new_photo.thumbnail(im.size,resample=Image.ANTIALIAS)
save_args = {'format':im.format}
print(save_args)
if im.format=='JPEG':
save_args['quality']=20 save_args['quality'],value=jpeg_dynamic_quality(im) save_args['optimize']=True
save_args['progressive=True']=True
print("JPEG Quality Changed")
elif im.format=='PNG':
save_args['format']='JPEG'
save_args['quality']=5
print("PNG Quality Changed") new_photo.save(targetpath+name+".jpg",**save_args)
if name == 'main':
import os
originpath = "D:\images\img\"
# 需要压缩图片路径 targetpath = "D:\images\dangdang_image\"
# 压缩完图片路径 for root, dirs, files in os.walk(originpath):
for file in files:
compress(file,originpath,targetpath)
```
最后
今天教大家的图片压缩到这里就结束了,喜欢的小伙伴记得点赞收藏。你不支持我,怎么能第一时间找到我,关于这篇文章有不
懂的地方可以评论留言哟!!我看到都会第一时间回复的,这一篇到这里就有翻过去了,下一章见啦~~

Original: https://www.cnblogs.com/1234567FENG/p/16386867.html
Author: 蚂蚁爱Python
Title: Python图片压缩处理